Make "docomo Wi-Fi" more convenient...
08
06
Make "docomo Wi-Fi" more convenient! How to "log in automatically" in Windows 10?
The author often goes out to work because of his different work. The Internet is essential when making and updating reports and uploading and downloading pictures.
Therefore, there are many opportunities to use public Wi-Fi (wireless LAN). In particular, the "docomo Wi-Fi" of NTT DoCoMo, which has more places to use, is used more frequently.
When using docomo Wi-Fi on Windows PC, connect to the access point, open a Web browser, enter ID and password. I think there are a lot of people who do this, but you can log in automatically with a few settings. In addition, although there is no official notice, it is possible to use "SIM authentication" if it is a PC capable of mobile communication.
In this article, we will briefly summarize how to automatically connect to docomo Wi-Fi and its considerations on a PC with Windows 10 installed.
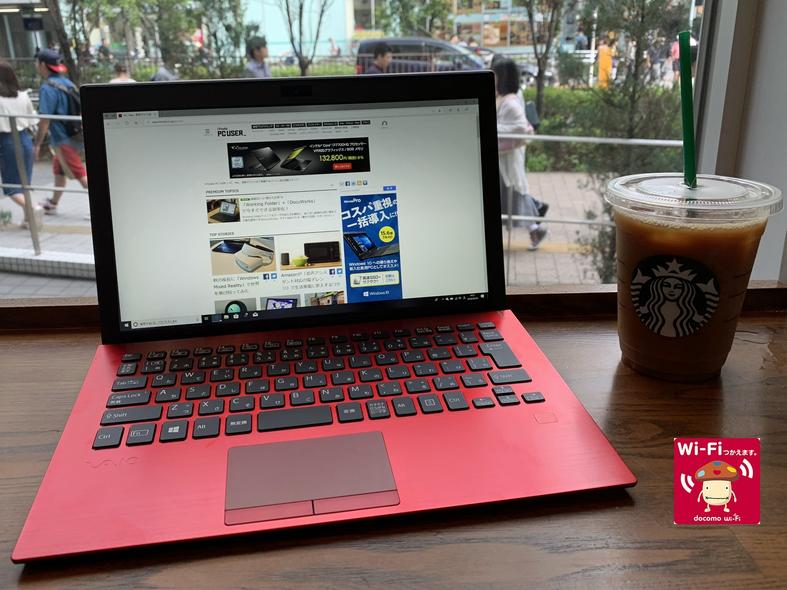
カフェでdocomo Wi-Fiを使う図(写真はLTE通信対応の「VAIO S11 RED EDITION」The SSID used is "0001 docomo"
Docomo Wi-Fi has three access point names (SSID), and the encryption and authentication methods of communication are different.
Among them, the automatic connection corresponding to this description is the SSID named "0001 docomo". The SSID roughly corresponds to a place in a station or convenience store where a setting is fixed (= does not move).
The principle of automatic connection in 0001docomo is "the method of entering connection information in advance", but if there are certain conditions, it is possible to use "the method of logging in using SIM card".
自動ログインにThe SSID used is "0001 docomo"。設置場所が固定されているdocomo Wi-Fiスポットなら大抵は対応しているMethod 1: the method of entering connection information in advance
First of all, the method of automatic connection by entering the connection information of 0001docomo in advance is introduced.
First, use the PC you use to prepare for good things. Open the control panel, enter the Network and Internet Network and sharing Center, New connection or Network Settings, and after launching the Settings Wizard (dialog screen), follow these steps to set up.
Attention! attention!
The following steps are the minimum required. If you are not in good contact, please refer to the detailed instructions (PDF file) listed in the following URL:
- 「ワイヤレス ネットワークに手動で接続します」を選択して次へ進む
- ネットワーク名に「0001docomo」を入力し、セキュリティの種類で「WPA2-エンタープライズ」を選択し、「ネットワークがブロードキャストを行っていない場合でも接続する」にチェックを入れて次へ進む
- 「接続の設定を変更します」をクリック(タップ)
- 接続のプロパティが表示されたら「セキュリティ」タブをクリック
- 「ネットワークの認証方法の選択」項目にある「設定」ボタンをクリック
- 「信頼されたルート証明機関」のうち、「Baltimore CyberTrust Root」と「DigiCert Global Root CA」の2つにチェックを入れる
- 「認証方法を選択する」項目の「高速再接続を有効にする」からチェックを外し、「構成」をクリック
- ダイアログボックスのチェックが付いている場合はチェックを外し、「OK」をクリック
- 「OK」をクリックして認証方法のプロパティを閉じる
- 接続のプロパティに戻ったら「詳細設定」をクリック
- 「認証モードを指定する」にチェックを入れ、「ユーザー認証」を指定し、「資格情報の保存をクリック」
- 「ユーザー名」にdocomo Wi-FiのID(※1)、「パスワード」にIDに対するログインパスワードを入力して「OK」をクリック(接続時に入力する場合は省略可)
- 「OK」を2回クリックして全てのプロパティを閉じる
ID 1 ID must be followed by "@ docomo" (for example, if the ID is "abcde", enter "abcde@docomo" for the user name). However, in the case of ID with the "docomo Wi-Fi ISP option", append "- spmode" (in the case of the sp mode) or "- mopera" (in the case of the mopera U) to the ID (for example, to the user of the ISP option attached to the sp mode where the ID is "fghij", enter "fghij-spmode@docomo" in the user name).
設定を変えつつ手動で「0001docomo」をセットアップし……証明書を設定しつつ……認証モードを設定し……認証情報を入力しておく(これは省略も可)Although it is a little long, but the preparation is done in advance.
If there is no error in the setting, if you select the SSID in a point with "0001 docomo", you can omit the Web authentication and connect to the Internet. If you cannot connect, please make sure that there is any error in the setting.
Method 2: how to log in using a SIM card (not supported)
Next, we'll show you how to connect using SIM authentication.
In order to take advantage of SIM authentication, the following three conditions must be met "all".
The option fee of 300 yen (excluding tax) in February is necessary. However, if certain conditions are met, it will be free forever (see link)
In PC where the conditions are met, the join order is simplified here.
- Wi-Fiのネットワーク一覧から「0001docomo」選んで「接続」をクリック(タップ)
- セキュリティキー入力になったら「SIMカードを使って接続」をクリック(初回のみ)
In the case of SIM authentication, you need to insert a SIM card in sp mode or mopera U and signing docomo Wi-Fi ISP options on the PC that you want to connect through docomo Wi-Fi. Of course, if the mobile communication module is in a state where the SIM card can be accessed, the "mobile network" can be turned off.
初回接続時は「SIMカードを使って接続」をクリックするだけでOKIt's very easy. I want to recommend it to anyone. However, this method is not officially recognized by DoCoMo.
The company officially supports SIM certification only for "DoCoMo smartphones / DoCoMo tablets / mobile routers after winter and spring 2013-2014", "Docomo phones after winter 2016" and "iPhone/iPad". I can't guarantee the use of the Windows 10 PC.
As long as the author has tried, I can confirm that SIM authentication can be used in the built-in PC of the following LTE module.
As mentioned above, if the mobile communication module cannot access the SIM card, SIM authentication cannot be used. It should be noted that if the mobile communication module is in an invalid or unrecognized state, it cannot be connected (including when the SIM card is not entered PIN), such as shortly after the power is on or sleep is released.
Although SIM certification is very simple, it is the user's responsibility to use it, which is currently "painful". I want you to officially support the use of Windows10PC.
VAIO S11 RED EDITIONのSIM認証接続した際のプロパティ

